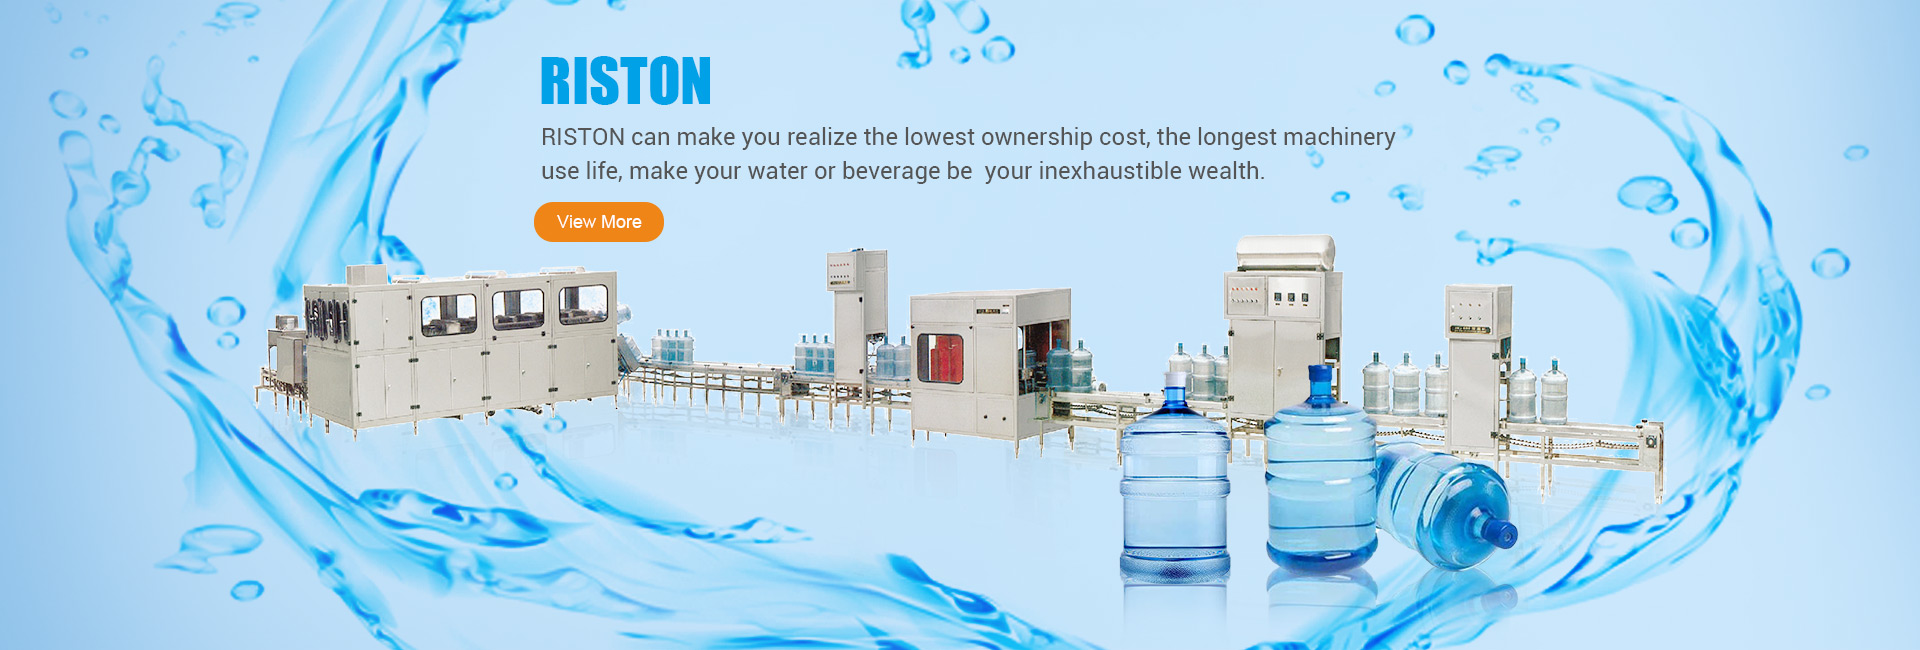
RISTON-ro water filter system assembly
Introduction: The RISTON RO water filter system is a sophisticated and efficient solution for home and commercial water purification needs. The assembly of this system involves several key components that work together to remove impurities, deliver high-quality drinking water, and ensure long-lasting performance. This technical article delves into the step-by-step process of assembling a RISTON RO water filter system and highlights its critical components and functions.
Pre-Assembly Components
Prefiltration Stage: Before the RO membrane, the system typically includes sediment filters to capture large particles like sand, rust, and silt, as well as carbon block filters or granular activated carbon (GAC) filters to adsorb chlorine, chloramines, and volatile organic compounds (VOCs).
Storage Tank Preparation: Assemble and install the pressurized storage tank, ensuring all seals and connections are tight to prevent leaks and maintain proper pressure.
Reverse Osmosis Membrane Installation
Membrane Housing: Install the semi-permeable RO membrane inside its dedicated housing, following the manufacturer's instructions. Ensure the membrane is correctly seated and sealed to avoid bypassing unfiltered water.
Flow Direction: Pay close attention to the direction of water flow through the membrane, which should be clearly marked on the housing.
Post-Membrane Filtration
System Connections
Water Supply Inlet: Connect the main water supply line to the inlet of the prefilter stage using appropriate fittings and tubing. Make sure all connections are secure to prevent leaks.
Drain Line: Properly route the drain line from the RO membrane housing to the drain, ensuring it adheres to local plumbing codes and regulations.
Product Water Outlet: Connect the filtered water outlet from the RO membrane to the storage tank and then to the faucet, using food-grade tubing.
Automatic Shut-off Valve & Check Valve
Auto Shut-off Valve (SOV): Install the automatic shut-off valve downstream of the RO membrane. It senses the tank's water level and stops the system when full, thereby conserving water and energy.
Check Valve: To prevent backflow, incorporate a check valve between the RO membrane and the storage tank.
Electrical Connection
If the system includes a booster pump, UV sterilizer, or other electrically powered components, connect them to a suitable power source according to electrical safety standards.
System Pressure Settings & Testing
Adjust the system pressure settings according to the specifications provided by RISTON. Conduct a thorough leak test before operating the system under normal conditions.
Post-installation, flush the system thoroughly to remove manufacturing residue and air pockets before allowing the first batch of purified water to fill the storage tank.
Maintenance and Monitoring
Conclusion: Assembling a RISTON RO water filter system requires precision and adherence to detailed instructions. Each component plays a vital role in the overall efficiency and longevity of the system. With careful installation and ongoing maintenance, RISTON's RO systems provide clean, safe, and refreshing water for daily consumption.
For specific instructions on how to assemble your RISTON RO water filter system, refer to the accompanying user manual and consult with RISTON customer support if needed. Always adhere to safety guidelines and use only authorized parts and accessories during assembly and maintenance.
Note: The actual assembly steps and components of a RISTON RO water filter system might vary depending on the model and version purchased. Always refer to the latest documentation provided by RISTON for accurate assembly instructions and specifications.


